Time:2025-07-22 Views:1
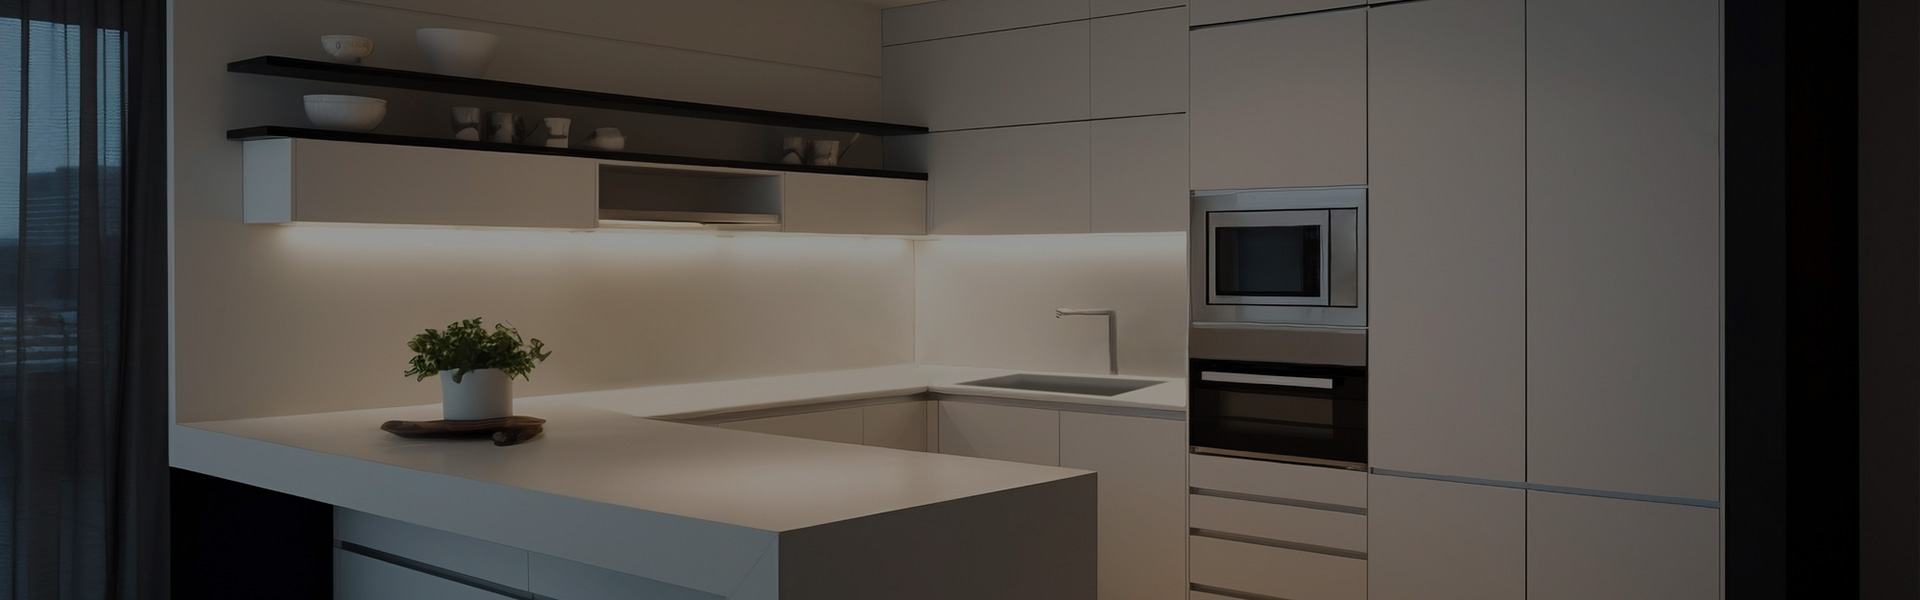
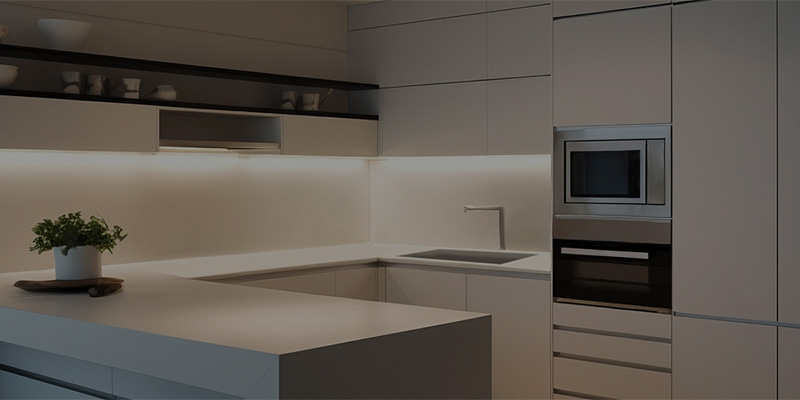
Installing anti-collision strips on kitchen floor cabinets is a practical and cost-effective way to protect both the cabinets and household members from damage caused by slamming doors and drawers. These strips, typically made from silicone, rubber, or foam, absorb impact, reduce noise, and prevent chips, scratches, or dents on cabinet edges. The installation process is straightforward, requiring minimal tools and expertise, but attention to detail ensures a secure and long-lasting result.
Before starting, gather the necessary materials: anti-collision strips (measured to fit the cabinet doors and drawers), cleaning supplies (mild detergent, water, and a lint-free cloth), scissors or a utility knife, and optionally, a measuring tape and pencil. The first step is to clean the surfaces where the strips will be applied. Cabinet edges often accumulate grease, dust, or food residue, which can prevent the adhesive from bonding properly. Wipe the edges thoroughly with a damp cloth and allow them to dry completely—this step is crucial for ensuring the strips adhere firmly.
Next, measure the length of the cabinet doors and drawers to determine the required length of the anti-collision strips. Most strips come in rolls, allowing for customization. Using scissors or a utility knife, cut the strips to match the measured lengths, ensuring clean, straight edges. For corners or irregular shapes, make precise cuts to ensure a seamless fit. It’s advisable to cut slightly longer strips than needed and trim them after application to avoid gaps.
Peel the backing from the adhesive side of the strip, taking care not to touch the adhesive with your fingers to prevent oil or dirt from compromising the bond. Align the strip along the edge of the cabinet door or drawer, starting from one end and pressing firmly as you move along the length. For doors, apply the strip to the edge that comes into contact with the cabinet frame when closed; for drawers, apply it to the front edge that hits the cabinet when shut. Ensure the strip is centered and lies flat, with no wrinkles or bubbles—use a roller or a flat tool (like a credit card) to press it firmly into place, especially along the edges.
For particularly heavy doors or drawers, or in high-traffic kitchens, consider reinforcing the strips with a small amount of additional adhesive, though most quality strips come with strong, industrial-grade adhesive that should suffice. Allow the adhesive to set for 24 hours before using the cabinets heavily, as this ensures maximum bond strength. During this period, avoid opening or closing the doors and drawers excessively to prevent the strips from shifting.
Maintenance of anti-collision strips is simple. Periodically check for signs of wear, such as peeling edges or damage from heat or cleaning products. If a strip becomes loose, clean the area again, apply a small amount of adhesive, and reattach it. Replace strips entirely if they are cracked, worn, or no longer effective in reducing impact. Choosing heat-resistant and food-safe materials (such as silicone) is important in kitchens, as they can withstand exposure to hot dishes, steam, and cleaning chemicals without deteriorating.
In addition to protecting cabinets, anti-collision strips also reduce noise, making the kitchen a quieter space—especially beneficial in open-concept homes or during early mornings or late nights. They also prevent little fingers from getting pinched in closing doors, adding a safety benefit for households with children. By following these installation steps and maintaining the strips regularly, homeowners can extend the life of their kitchen cabinets while enhancing the functionality and safety of their space.
Read recommendations:
custom full luxury lacquer double sink island cabinets kitchen furniture design kitchen cabinet
New Design Modern Sliding Door Wooden Wardrobe Bedroom
Top Quality Design U Shaped Matte PVC Finish Kitchen Cabinet
Light - Colored Panels of Nordic Medium - High Standing Cabinets


 info@primahousing.com
 EN
EN
 Home >
