Time:2025-09-29 Views:1
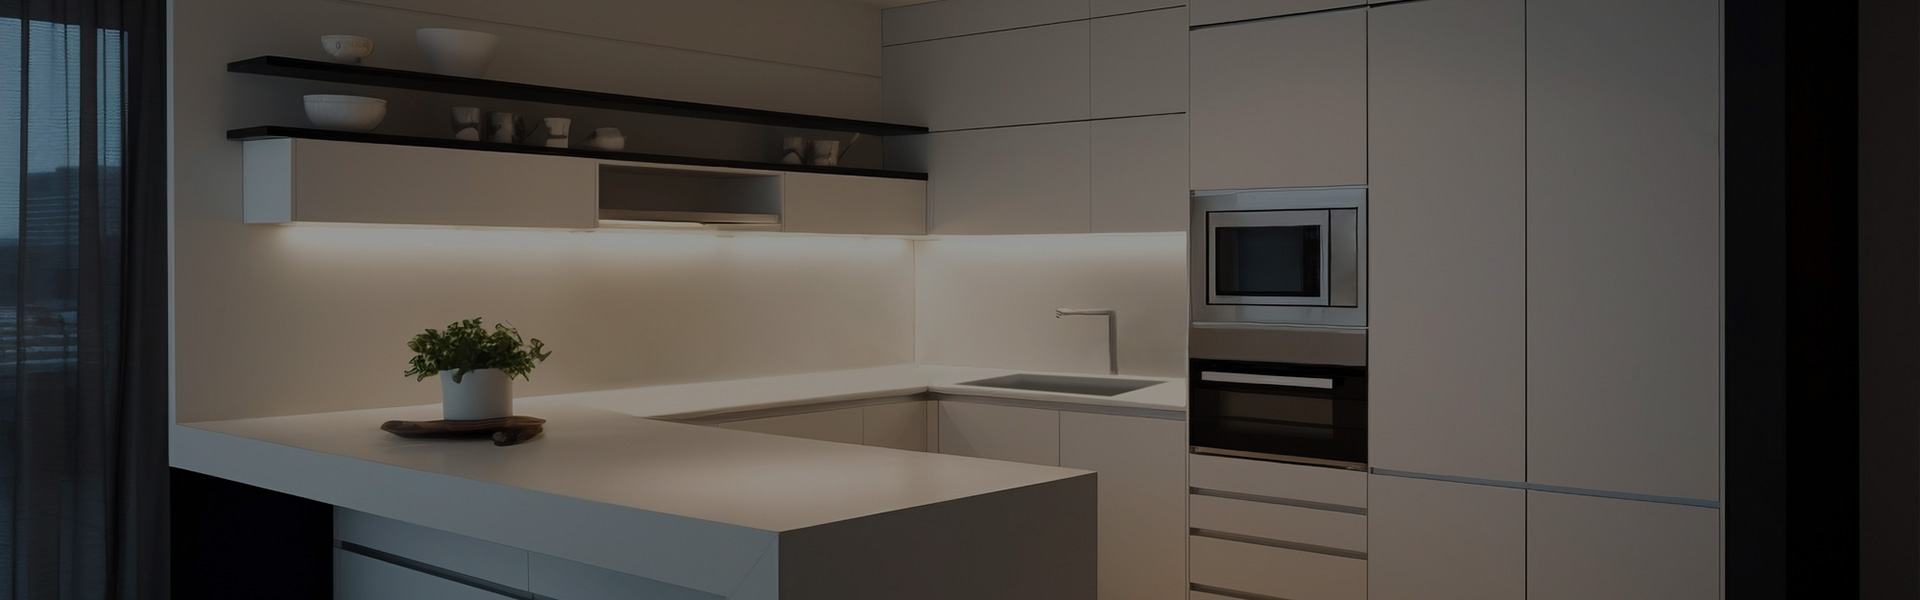
Installing built-in decorative cabinets requires careful planning and precision to ensure they fit seamlessly into the designated space, are structurally secure, and complement the room’s architecture. These cabinets, which are custom-fitted into walls or alcoves, offer a streamlined look and maximize space utilization, but their installation demands attention to detail and adherence to specific techniques.
Before beginning the installation, thorough measurement and planning are essential. The first step is to accurately measure the dimensions of the alcove or wall space where the cabinet will be installed, including height, width, and depth. It is crucial to account for any irregularities in the wall, such as uneven surfaces or protrusions, which can affect the fit. Using a level and straightedge to mark the cabinet’s position on the wall ensures that it will be installed vertically and horizontally straight. Additionally, checking for hidden electrical wires, plumbing pipes, or structural studs behind the wall—using a stud finder or electrical detector—is vital to avoid damage during installation and to identify secure anchoring points.
The next step is preparing the cabinet and the installation area. If the cabinet is prefabricated, ensuring all components are included and in good condition is important. For custom-built cabinets, verifying that the dimensions match the measured space is necessary. The wall surface should be cleaned and, if necessary, repaired to create a smooth, even base. Applying a primer or paint to the wall area behind the cabinet, even if it will be hidden, prevents moisture damage and ensures a clean finish.
Securing the cabinet to the wall is a critical step for safety and stability. Built-in cabinets should be anchored to wall studs whenever possible, as studs provide the strongest support. Using heavy-duty screws long enough to penetrate the studs by at least 1.5 inches ensures a secure hold. For areas without studs, using wall anchors rated for the cabinet’s weight is necessary. It is important to install the cabinet in sections, starting with the base or bottom unit, ensuring it is level before securing it, then adding upper units or shelves. Using shims to adjust for any unevenness in the wall or floor helps achieve a precise fit.
After the cabinet is secured, finishing touches include trimming any gaps between the cabinet and the wall with caulk or decorative molding to create a seamless appearance. Installing handles, knobs, or other hardware completes the installation, ensuring the cabinet is both functional and visually appealing. By following these steps, built-in decorative cabinets can be installed safely and effectively, enhancing the room’s functionality and aesthetic.
Read recommendations:
New Design Modern Sliding Door Wooden Wardrobe Bedroom
Prescott Black Modular Kitchen Pantry with 2 Doors
Most Favorable Storage Furniture Cabinet Full Set Kitchen Lacquer Finish Cabinet


 info@primahousing.com
 EN
EN
 Home >
