
Time:2025-09-27 Views:1
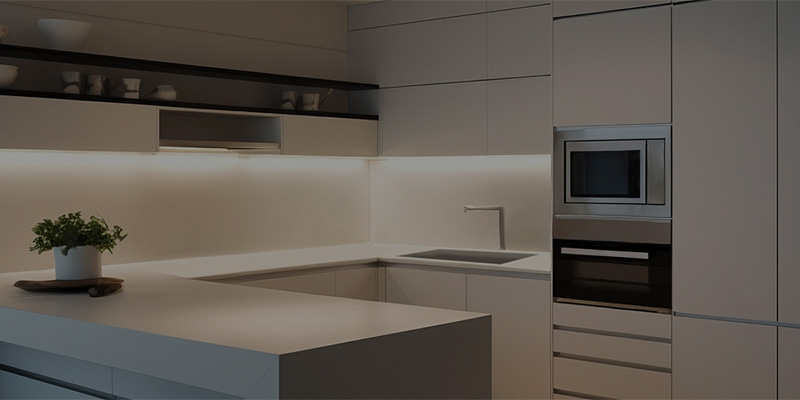
The installation of floor cabinets is a multi - step procedure that demands meticulous planning and precision to ensure a secure and functional result.
1. Preparation
First and foremost, the installation area must be properly prepared. This involves ensuring that the floor is level. If there are any uneven spots, they need to be rectified using shims or leveling compounds. The walls should also be checked for plumbness. Any obstructions in the installation area, such as pipes or electrical wires, need to be identified and accounted for. Measure the dimensions of the space accurately to ensure that the cabinets fit perfectly.
2. Cabinet Assembly (if necessary)
Some floor cabinets come pre - assembled, while others require assembly on - site. When assembling cabinets, it is essential to follow the manufacturer's instructions carefully. Use high - quality screws and fasteners to ensure the structural integrity of the cabinets. Make sure that all parts are properly aligned and that the doors and drawers open and close smoothly during the assembly process.
3. Installation of Base Cabinets
Begin by installing the corner cabinets first. Secure them to the floor using screws or bolts, ensuring that they are level both horizontally and vertically. Then, install the adjacent base cabinets one by one. Use clamps to hold the cabinets together while you attach them with screws through the side panels. Ensure that the gaps between the cabinets are consistent, typically around 1/16 to 1/8 of an inch.
4. Installation of Wall Cabinets (if applicable)
If there are wall cabinets, mark the location on the wall according to the measurements. Use a stud finder to locate the wall studs, as this is where the cabinets will be attached for support. Hang the wall cabinets starting from one end of the wall, making sure they are level. Use lag bolts or wall - mounting brackets to secure the cabinets to the studs.
5. Countertop Installation
After the cabinets are installed, it's time to install the countertops. First, place the countertop on top of the base cabinets and check for fit. If necessary, make any minor adjustments to the cabinets to ensure a snug fit. Apply a bead of silicone caulk along the top edge of the cabinets where the countertop will sit. Then, carefully lower the countertop into place and press down firmly to ensure good adhesion. Secure the countertop to the cabinets using brackets or screws, depending on the type of countertop and cabinetry.
6. Finishing Touches
Finally, install the cabinet doors, drawers, and hardware. Adjust the hinges on the doors to ensure proper alignment and smooth operation. Install drawer slides and insert the drawers, making sure they open and close evenly. Add any decorative elements such as moldings or trim to enhance the appearance of the cabinets. Clean the cabinets and countertops thoroughly to remove any dust or debris from the installation process.
Read recommendations:
Luxury Lacquer Kitchen Cabinets With Handle Design Nice Price Kitchen Furniture Set
Luxury Home Shaker Solid Wood Cabinets Kitchen Cabinets American Standart
Recommend North American market shaker style solid wood kitchen cabinet for hotel


 info@primahousing.com
 EN
EN
 Home >
